
Most American homes have a hidden room with massive potential, yet it often ends up holding forgotten boxes, broken exercise gear, and tangled holiday decorations. The garage frequently serves as a dumping ground rather than a functional part of the house.
With a thoughtful approach, you can completely transform this area. A well-planned renovation turns a dusty storage unit into a comfortable, organized, and visually appealing extension of your home.
This guide walks you through every major aspect of a garage upgrade, from smart storage systems and durable flooring to climate control and modern aesthetics. You will learn exactly how to approach the project systematically, ensuring you maximize every square foot and build a space you are genuinely proud to use.
Establish Your Renovation Goals
Before purchasing a single shelf or contacting a local contractor, determine exactly what you want the space to do. A room dedicated to daily woodworking projects requires entirely different features than one built strictly for parking two vehicles and storing seasonal items. Ask yourself how your family will actually use the area.
Most homeowners are looking for a combination of reliable parking, organized equipment storage, a clean appearance that boosts property value, and a comfortable working environment. Knowing your primary objectives will guide your budget and material choices moving forward.
Phase 1: Declutter Before You Upgrade
The most impactful step in any garage transformation costs absolutely nothing. No advanced storage system can fix a room overloaded with unnecessary items, making a ruthless decluttering session essential.
Use a straightforward three-pile method to sort your belongings: keep, donate or sell, and trash. Be highly critical of what you retain. If an item has sat untouched for two years and you have no concrete plans to use it soon, let it go. Large, bulky items like old furniture and broken appliances consume disproportionate amounts of space. Removing them immediately reveals the true potential of the room.
After clearing the clutter, take precise measurements. Record your exact square footage, ceiling height, and the specific locations of doors, windows, and electrical outlets.
Phase 2: Install Smart Storage Systems
Effective storage allows you to double your usable area by moving items off the concrete and onto the walls and ceilings.
Wall-Mounted Systems
Slatwall panels and track systems dominate the wall storage market, and both offer excellent utility. Slatwall features horizontal grooves that accept hooks, baskets, and shelves. High-quality PVC or composite slatwall supports significant weight and provides a clean, uniform look.
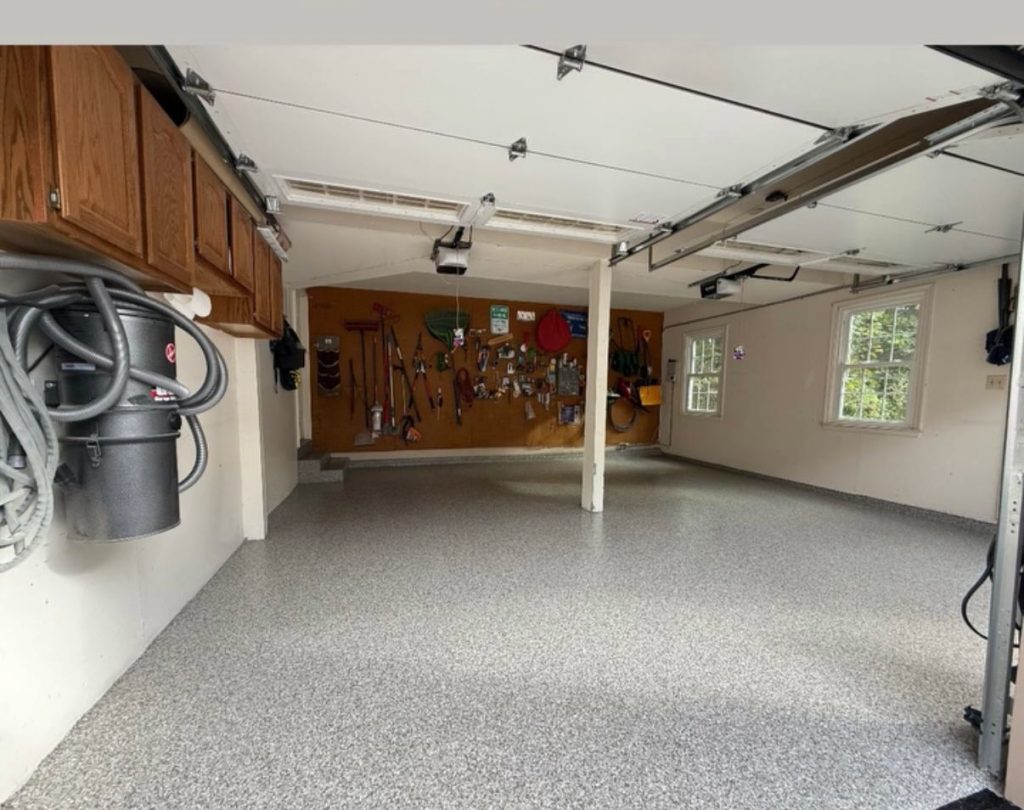
Track systems, such as Gladiator Garage Works or Rubbermaid FastTrack, utilize heavy-duty horizontal rails mounted directly to the wall studs. These systems hold up to 75 pounds per hook, making them perfect for heavy items like ladders, large power tools, and bicycles. A combined approach often works best: slatwall for small hand tools and track systems for bulky gear.
Overhead Ceiling Storage
Ceiling platforms capitalize on the most neglected dimension of the room. If your ceilings are at least 9 feet high, you can install overhead racks that attach directly to the joists. A quality 4×8 platform holds between 400 and 600 pounds, providing an ideal home for labeled plastic bins containing holiday decorations, camping gear, and seasonal items.
Freestanding Cabinets and Workbenches
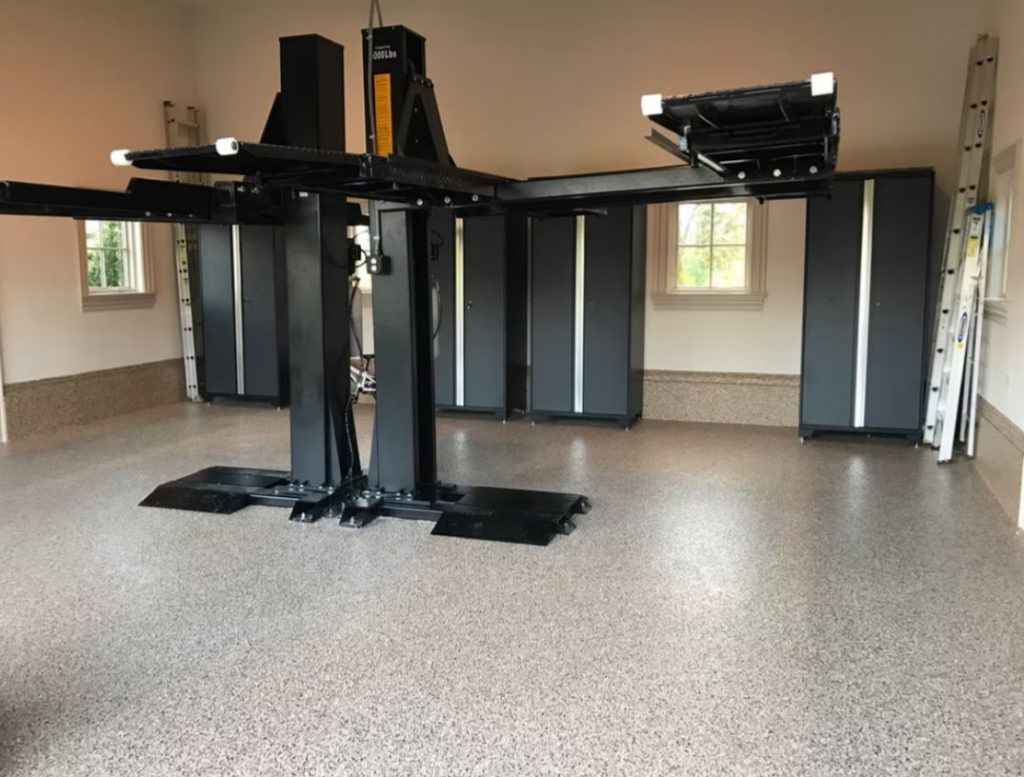
Steel cabinets give the space a polished, professional appearance by hiding remaining clutter behind closed doors. Modular units from brands like Husky or Seville Classics allow you to expand your storage over time. Pair these cabinets with a sturdy, 36-inch-tall workbench featuring a butcher block top to create a dedicated area for household repairs.
Phase 3: Choose the Right Flooring
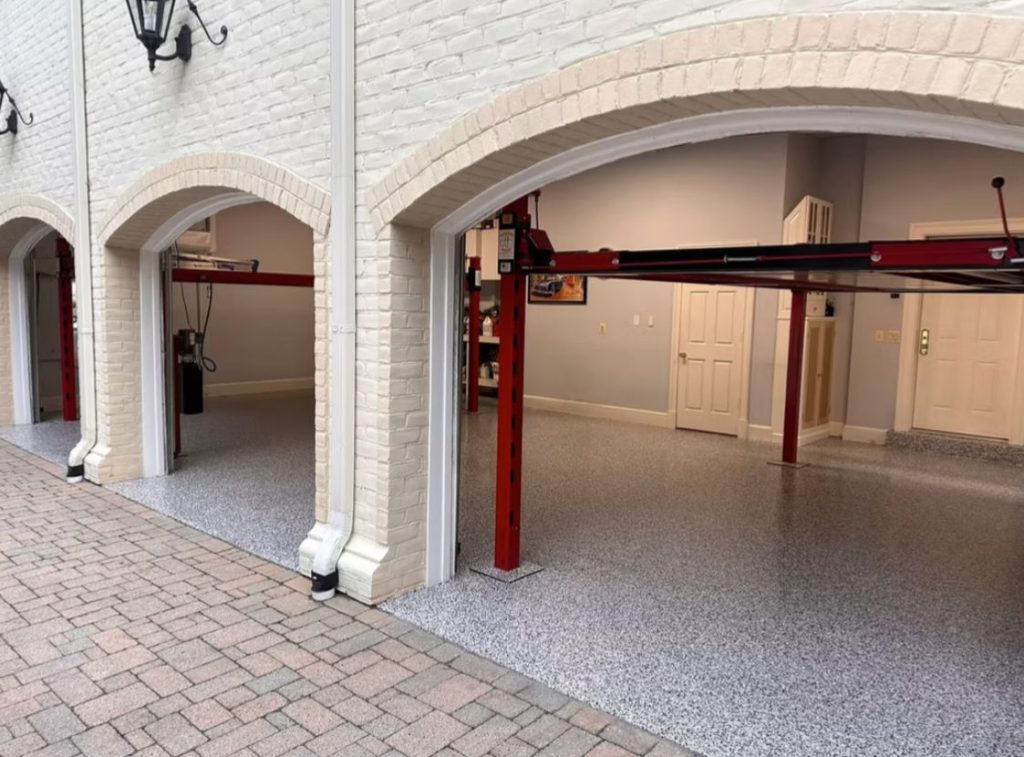
If there’s one upgrade that transforms a garage more dramatically than any other, it’s the floor. Raw concrete is cold, porous, stain-prone, and just plain uninviting. A finished floor changes the entire character of the space.
There are three main options for garage flooring in most California homes:
Interlocking tiles are the most DIY-friendly option. Polypropylene or rubber tiles click together over the existing concrete and can be installed in a few hours without any professional help. They’re comfortable underfoot, come in dozens of colors and patterns, and can be removed or replaced individually if damaged. The tradeoff is that they’re not as durable or seamless as a coated floor.
Polyprotic or polyurea coatings are fast-curing, UV-resistant coatings that can be installed in a single day. They’re popular in California because they handle UV exposure better than standard epoxy and cure quickly in warm weather. They’re more expensive than epoxy but offer excellent longevity.
Epoxy flooring remains the most popular and versatile choice for garages across Southern California. Homeowners looking for epoxy flooring Los Angeles options will find a wide range of contractors offering everything from basic solid-color systems to elaborate metallic and decorative flake finishes — with prices ranging from $3 to $12 per square foot depending on the system and preparation required.
Regardless of which option you choose, proper surface preparation is non-negotiable. The concrete must be clean, dry, and properly profiled before any coating or tile is applied. This step — usually done with a diamond grinder or shot blaster — is what separates a floor that lasts a decade from one that starts peeling within a year.
For most LA homeowners, a mid-range flake epoxy system hits the sweet spot: durable, attractive, slip-resistant, easy to clean, and priced reasonably for the value it delivers.
Phase 4: Upgrade Your Lighting Setup
Standard builder-grade fixtures usually provide dim, uneven illumination. Swapping them out delivers an incredibly high return on investment.
Modern LED shop lights produce brilliant, consistent light while consuming minimal energy. Four strategically placed 4-foot LED fixtures will comfortably illuminate a two-car garage. Choose bulbs with a color temperature between 5000K and 6500K for a crisp daylight effect, as warmer tones can make the room feel dingy. Additionally, consider adding motion-activated lights near entryways and dedicated task lighting above your workbench.
Phase 5: Implement Climate Control
An uninsulated space quickly becomes unbearable during extreme weather. To make the room comfortable year-round, you need to manage the temperature.
Start by addressing the garage door, which acts as a massive thermal bridge. Upgrading to an insulated model with an R-value between 12 and 18 or installing a fiberglass insulation kit on your existing door, makes a noticeable difference. If your walls are unfinished, installing R-13 insulation in the walls and R-19 in the ceiling will help stabilize the environment.
If you plan to use the area as a home gym or daily workspace, consider installing a ductless mini-split system. These units provide energy-efficient heating and cooling with precise temperature control. For more modest budgets, a large-diameter ceiling fan (52 to 60 inches) or a portable window air conditioner offers substantial relief during hot summer months.
Phase 6: Modernize the Garage Door
The main door heavily influences your home’s exterior aesthetic. Replacing a dented, faded panel instantly elevates your property’s curb appeal.
Traditional raised-panel steel doors remain the most practical and affordable option for many families. Carriage-house styles feature decorative hardware that mimics old barn doors, fitting beautifully with Craftsman or Spanish architecture. Modern homes benefit from full-view aluminum doors with frosted glass, while natural wood doors provide unmatched warmth and authenticity.
Pair your new door with a modern smart opener. Current models feature Wi-Fi connectivity, smartphone controls, battery backups, and ultra-quiet belt-drive motors. A quality smart opener allows you to monitor and control your garage from anywhere.
Phase 7: Add the Finishing Touches
The final details bridge the gap between a basic storage room and a genuine extension of your living space.
Painting unfinished drywall with a light, neutral semi-gloss paint reflects light and makes the room feel much larger. Adding baseboard trim creates a clean transition between the walls and your newly coated floors. Keep your storage bins and color-coordinated cabinetry to maintain a cohesive, designed appearance. Finally, installing a stainless-steel utility sink provides massive convenience for cleaning tools and washing hands after messy projects.
Prioritizing Your Renovation Budget
You do not need to tackle every phase simultaneously. Structure your upgrades based on your available budget:
- Under $500: Focus on aggressive decluttering, install basic wall-mounted hooks, and upgrade to LED shop lights.
- $500 to $2,000: Mount overhead ceiling racks, expand your wall storage system, paint the walls, and consider a section of interlocking floor tiles.
- $2,000 to $5,000: Hire professionals for a flake epoxy floor, upgrade to a smart garage door opener, and invest in steel storage cabinets.
- $5,000 to $15,000+: Execute a full transformation featuring a new insulated door, a mini-split HVAC system, custom cabinetry, and comprehensive lighting.
Frequently Asked Questions
What is the best flooring for a garage upgrade?
Epoxy and polyprotic coatings are widely considered the best options for durability and aesthetics. They resist oil stains, handle heavy vehicle traffic, and are easy to clean, making them ideal for both parking and workshop use.
How much does a garage renovation cost?
A basic upgrade involving fresh paint, modern lighting, and simple wall storage costs less than $1,000. A comprehensive remodel with custom cabinets, professional floor coatings, and climate control typically ranges from $5,000 to $15,000 depending on the materials chosen.
Do new garage doors increase home value?
Yes. A clean, organized garage paired with a modern garage door strongly appeals to homebuyers. Upgrading your garage door consistently ranks as one of the highest return-on-investment home improvement projects you can undertake.
Taking the First Step Toward Your New Space
A complete garage upgrade is a series of manageable decisions that are built upon one another. A pristine epoxy floor looks even better when surrounded by organized walls, and excellent lighting makes every detail pop. Start by clearing out the clutter and taking accurate measurements. Identify the single improvement that will have the biggest immediate impact on your daily routine and build your momentum from there. The ideal garage accommodates your lifestyle, respects your budget, and ultimately makes your home a better place to live.
You Might Also Like: Improving Your Home